Soaking seeds before planting may seem like an extra step, but it’s a simple technique that can yield significant benefits for your garden. In this guide, we’ll explore five compelling reasons why soaking seeds is advantageous and provide easy steps on how to do it effectively.
- Faster Germination: Soaking seeds jumpstarts the germination process. It softens the seed coat and triggers the release of enzymes, allowing for quicker absorption of water. This leads to faster and more uniform germination, providing a head start for your plants.
- Enhanced Germination Rates: Soaking seeds can improve overall germination rates. By reducing the time seeds spend in the soil before sprouting, you minimize the risk of environmental factors, such as temperature fluctuations or soil-borne diseases, affecting seed viability.
- Breakdown of Inhibitors: Some seeds have natural inhibitors that prevent premature germination. Soaking helps break down these inhibitors, ensuring that your seeds are ready and willing to sprout when conditions are favorable. This is particularly beneficial for seeds with hard or thick seed coats.
- Increased Nutrient Availability: Soaking seeds initiates the process of seed metabolism, leading to the activation of enzymes. This, in turn, makes stored nutrients more accessible to the emerging seedling. The result is a stronger, healthier start for your plants.
- Improved Seedling Vigor: Soaking encourages the development of robust seedlings. With a head start in water absorption, the seedlings emerge with more energy and vigor, setting the stage for healthier growth throughout their lifecycle.
How to Soak Seeds:
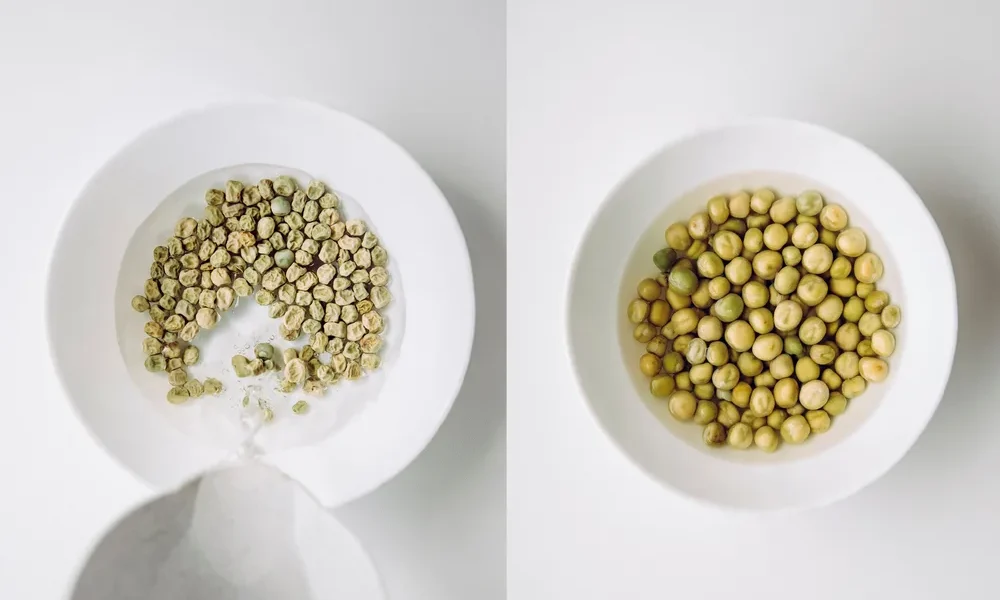
- Choose the Right Container: Select a container that allows room for seed expansion and provides good drainage. A shallow dish or a jar with a breathable lid or cover works well.
- Place Seeds in Container: Lay your seeds evenly in the container. Avoid overcrowding to ensure each seed gets adequate exposure to water.
- Add Water: Pour room-temperature water over the seeds until they are fully submerged. Use filtered or dechlorinated water to prevent any adverse effects on the seeds.
- Soak for the Appropriate Time: Different seeds have varying soaking times. Generally, overnight soaking is suitable for many seeds. Larger seeds may require a longer soak, while smaller seeds may need just a few hours.
- Drain and Rinse: Once the soaking period is complete, drain the water from the container. Rinse the seeds thoroughly to remove any residue.
- Plant Immediately: Plant the soaked seeds immediately after rinsing. The softened seed coat makes it easier for the seeds to establish contact with the soil and kickstart the germination process.
Conclusion: Soaking seeds before planting is a small yet impactful step that can significantly enhance the success of your garden. By promoting faster germination, breaking down inhibitors, and increasing nutrient availability, you’re giving your seeds the best possible start. Incorporate this simple technique into your gardening routine and watch as your plants thrive from the very beginning.