To have an orchid in bloom like never before there is a sponge method known to few people. Here’s what it is.
In our homes there are many plants and flowers which, in addition to beautifying and decorating our homes, have a positive function on our body and our mood as well as on the environment. In fact, thanks to photosynthesis , many of them tend to release carbon dioxide and absorb excess humidity in the rooms, thus preventing the formation of condensation and mold. In addition, the presence of plants and flowers in our homes and particularly on balconies helps insects during pollination, a very important operation for saving the planet.
Orchid – the sponge method
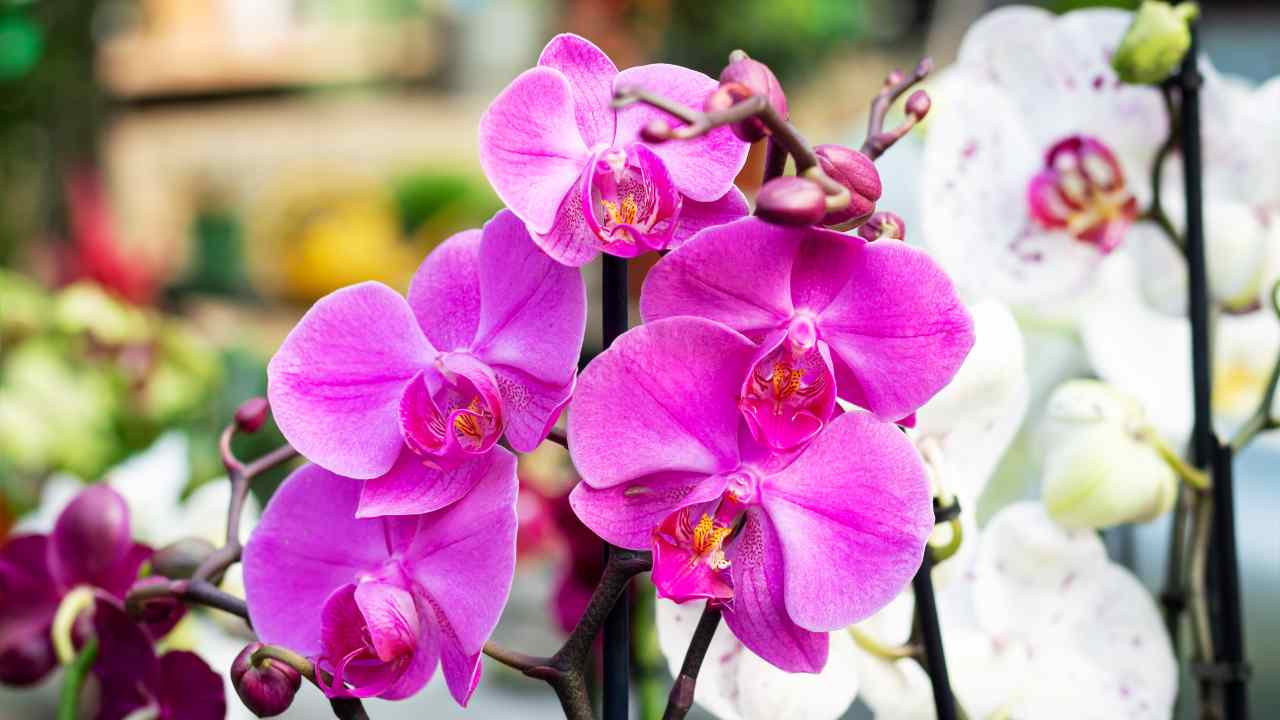
One of the most common plants in our homes is the orchid because of its resistance and its flowers with varied colors that are used for many events and ceremonies and because of the elegance of its flower.
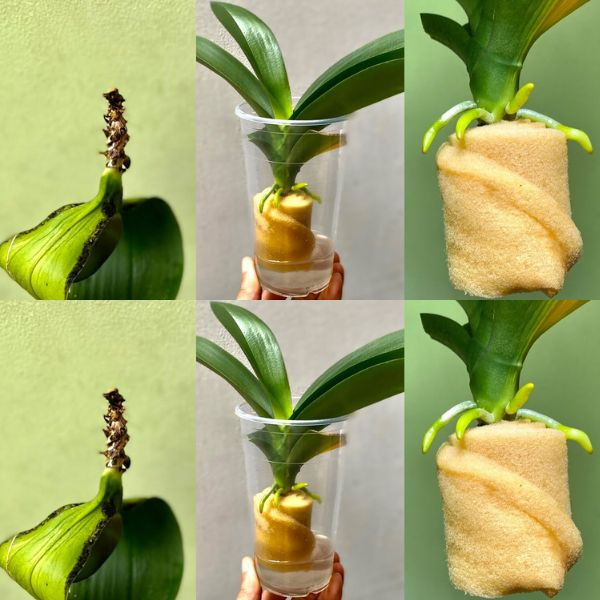
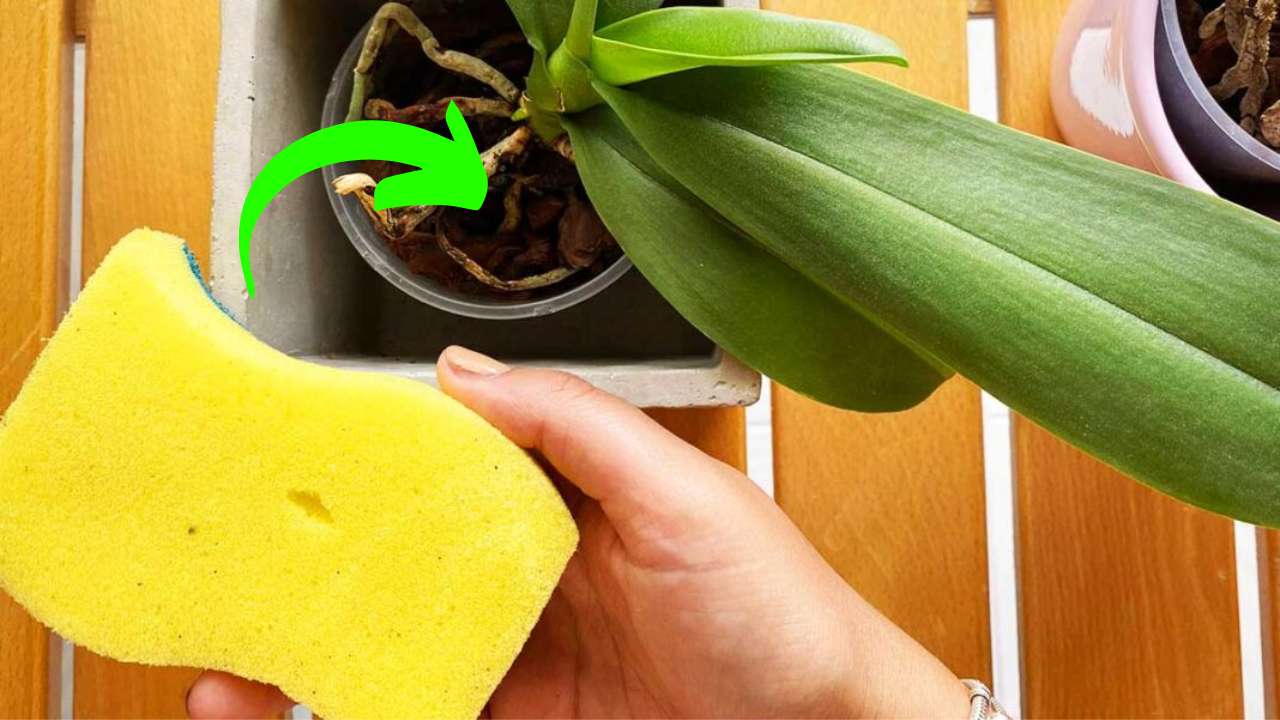
However, not everyone knows that to have a vigorous flower there is a method called the sponge method that only the most expert nurseries know and that we are going to show you step by step. Even a plant that seems dead can come back to life and regain strength with an incredible result: you start cleaning the plant that is about to die by removing all the dry or rotten parts. Then you have to remove it from the ground and free it of all the bark that is there and then with sterilized scissors remove all the other dry parts that cannot be removed by hand.

Don’t worry about removing parts that you don’t know if they are rotten or not, it is always better to remove the damaged parts than to keep them so that the healthy part can reinvigorate itself after treatment. The central part, still viable, will appear with a small root and perfect leaves if they are not completely dry. It may happen that living parts are created where fungi and bacteria can enter and must be closed with cinnamon which heals and helps form new roots. You must place the cinnamon on the cut part and let it rest for 48 hours in a sterile and dry environment by placing the plant on a clean handkerchief on a serving plate.
What happens to the plant
After this time, cut the bottom of a plastic bottle , approximately 10 cm long, and pierce it on the bottom, creating 4 or 5 notches that will allow the water to drain. Inside, prepare a bed for sowing. To do this you can use moss or lichen or, if we do not have these organic materials, insert a sterilized sponge. Once you have it, wet it and insert it into the bottom of the cut bottle. After inserting the seedling, placing it, insert it into a plastic bag and close it, so that a real microclimate is formed that will tend to help the plant recover and revive. Place it in a place where it can receive plenty of light, being careful not to put it in direct sunlight for about 50 days . After these two months or so, we can see the results.
The plant will become viable with hard, green, shiny leaves and there will be no mold and bacteria and the root system will be perfect and the remaining roots will have grown a few centimeters forming more. Next, place the bark in a plastic pot with a hole in the bottom and being careful not to break the roots, insert the plant slowly, putting in more bark until the pot is full. Then wet everything with a spray bottle or sprayer, but being careful not to wet the leaves, at least for the first few days. In this way, the plant should be treated like any other orchid. After another three months, the plant will grow both in terms of leaves and roots and will grow more and more, eventually producing flowers that will make everyone envious.