
Polishing silverware is not an activity that we can do “quickly”. It must be planned and executed with patience.
As with all environments or objects in the house, we can use natural or home remedies to clean, polish and remove stains. This is also possible in the case of silver .
There are many remedies: just think of the use of toothpaste or bicarbonate, but this time I want to talk to you about a very old method , but which will also cost you less effort: the Salt and Aluminum Method .
Does it really work? If you are asking yourself this question, I will share my experience and my considerations on where it is best to use it.
Step by step process
The Salt and Aluminum process is very simple: the most important thing you need is a little time . But this method is very convenient for me, because in the meantime I can also dedicate myself to other cleaning… and obtain a perfect result!
You will need:
- a large bowl
- of tin foil to taste
- a cup full of coarse salt
- hot water to taste
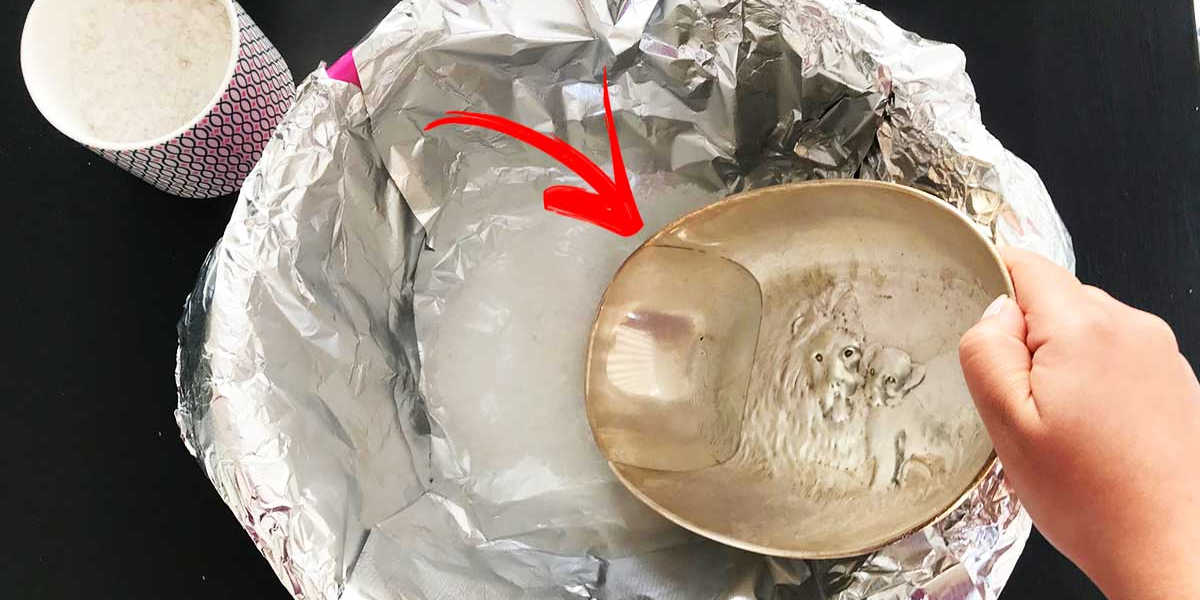
The first thing to do is cover the bowl with foil . Then heat a pan of water , but do not let it boil.
When it is ready, pour the water into the bowl (it must be resistant) then add the salt , without the need to stir it to dissolve it.
Then gently insert the silver object into the bowl and let it rest for at least half an hour . The salt, in contact with hot water and the aluminum foil, will activate a real chemical reaction that will help us transfer the oxidation from the silver to the aluminum foil.
Once the necessary time has passed (wait until the water is lukewarm, so you don’t burn yourself), take out the silver object and wipe with a microfibre cloth to remove the rest of the black patina , without however risking scratching it.
The method works! But where is it best to use it?
After having explained how the salt-aluminum method works for polishing silver, I want to give you my opinion. The method works, of course!
Oh I forgot! If you like these Natural Tips I can send them to you every day directly on WHATSAPP! Subscribe to my channel! I am waiting for you!
I think it’s a great way to polish silver items without investing too many hours scrubbing and rinsing. Which is great, because while the remedy works , we can optimize the time we have left to dedicate to other cleaning .
Is this good for all silver? The answer is yes , but in any case I don’t use it for all the objects I own, because in some cases it can be less convenient.
I’ll give you an example: if you have to clean a tray or a teapot (which have a smooth surface so to speak), this technique is perfect. If you have objects with decorations or with additional elements (such as wood or stones) it could be aggressive and the black patina may not be eliminated perfectly .
In these cases, it is better to opt for toothpaste , or with a little bicarbonate, always proceeding very delicately.
Small exception: the Pandora bracelet
A small parenthesis should be made for the Pandora bracelet , which is made of silver, but is also equipped with charms that have stones or decorations. What to do in this case?
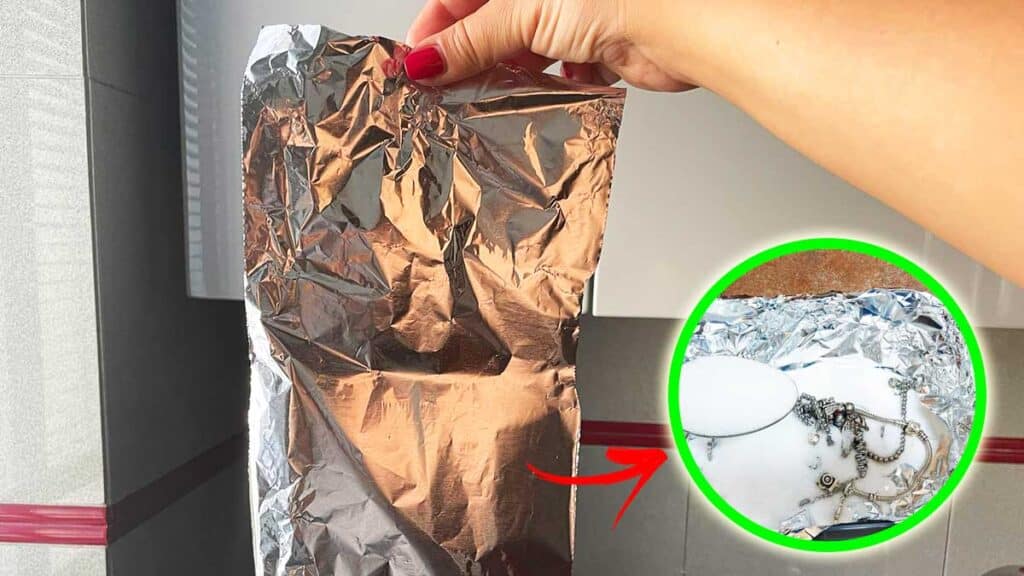
The aluminum salt method is great for polishing the Pandora bracelet , but separate the more resistant charms from the more delicate ones. In this video you will find the whole process:
As you can see, the procedure is practically the same . We’ll use a cup for its size, then cover it with aluminum. One or two tablespoons of salt will suffice in this case .
Let it act and the bracelet will also be as good as new.
Remember to always test the remedy in a hidden area first, to avoid ruining your silver.