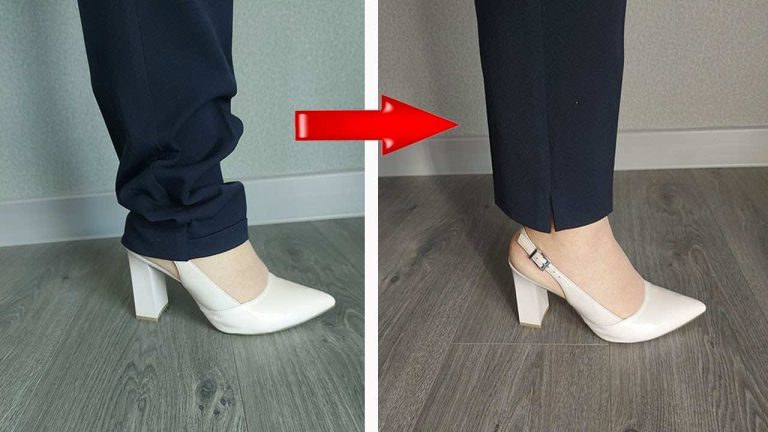

This is how you shorten your pants: a needle and a tape measure will be enough without having to go to professionals.
It often happens that we buy pants that, however, are too long for our size; In this case, it is not necessary to go to the seamstress because it will be enough for you to take the test using only a needle and a tape measure . That is how.
Shorten pants: how to do it quickly?
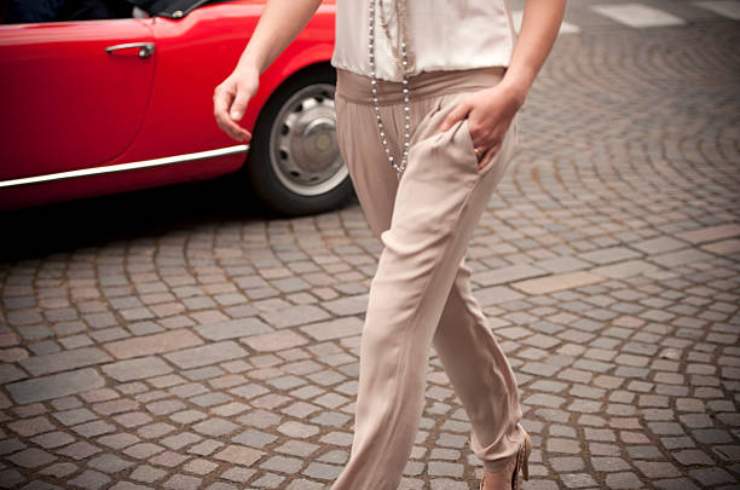
It usually happens that you make that purchase that you like so much and yet you can’t put it on right away, because it is too long.
Those pants we bought with so much love turn out to be so long that they simply cannot be worn. So, the first thing we should do is turn to the seamstress.
And that’s what we do: we run to the seamstress in the hope that she will solve our problems, as if it were really the only thing we could and should do.
Going to the seamstress means taking measurements but above all waiting for the professional to give us an appointment to pick them up, which is generally not entirely immediate. All this often creates difficulties but above all a real frustration because you would like to show off your new purchase immediately.
Here, however, this unpleasant situation can end up testing us. In what sense? That many times the solution is us and our tests, becoming tailors of ourselves.
Put like that, it can be scary because we are often afraid of making a mistake or, in any case, of not doing it right and yet, it is not really that.
Shorten your pants at home: the easiest way
In reality, shortening pants is almost child’s play and all you need is a needle and a tape measure.
So how do you shorten your pants at home? These are the steps you should follow, step by step, until you get pants of your optimal length.
Shortening your pants at home is a feasible action that, in reality, does not necessarily require professional training. It is true that being a tailor allows you to do clean work, but above all it allows you to do it very quickly, also thanks to the help of a sewing machine. However, all this is not strictly necessary since you can also perform this operation at home and completely independently.
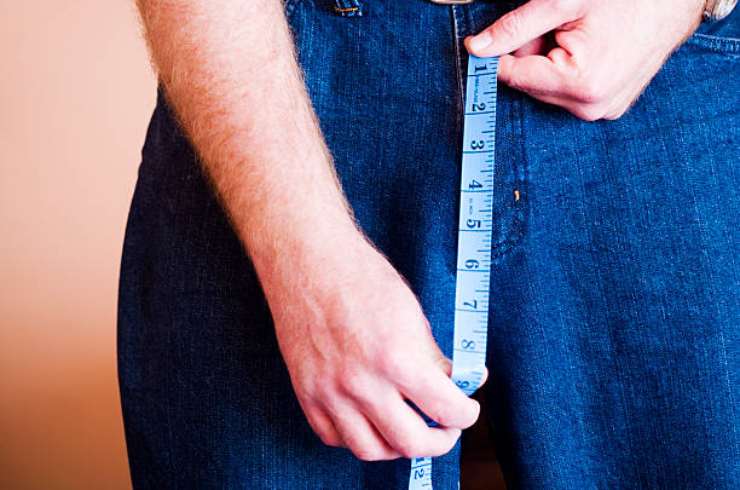
As already mentioned, the first thing you have to do is arm yourself with a needle and a meter, as well as good will and the desire to get involved.
Once this is done, the first step in putting together is to measure the pants to know how much you will need to shorten.
After understanding how much you need to shorten, you should proceed by placing the pants on a flat surface and so that both pant legs are perfectly placed on top of each other; With the meter, starting from the bottom, try to take the measurements of the centimeters that you will have to eliminate.
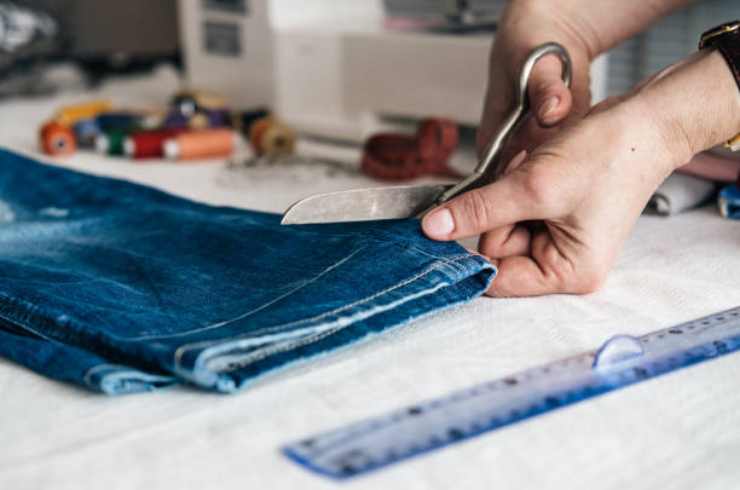
Once this is done, draw chalk lines which will then serve as a guide to determine how much you need to shorten. To make the line appear straight, draw the line with a ruler while standing on the workbench. You will need to make this line both up and down, therefore also at the end of the leg. This will allow you to follow a line that, in reality, is not given by chance or by the eye, but is truly straight.
Procedure and tips
Once the two lines are dotted , proceed by cutting the bottom one; Once cut, from the inside, proceed to unstitch the original seam of the pants both at the bottom and on the side. This way, you will have the trouser legs open on one side only.
Proceed to unstitch about a dozen centimeters. Once this is done, draw a chalk line again about twelve centimeters, in fact.
Later, with the sewing machine you will have to try to make a seam only on the side of the pants, which you will have unstitched a moment before. You won’t have to sew it with the other side of the pants, just on the inside, making a small fold, because this prevents the pants from fraying and coming apart . Proceed with this operation on the four sides of the pants that you will have previously unstitched. Obviously, during this operation you must also be careful to eliminate excess threads.
Once done, take the chalk and with a ruler mark the two lines that will guide you for the interior facing. It is good to make it thick so that the sewn part does not cook too late.
Once you have taken the two lines with the ruler, use a needle and attach the two ends that will later be used for the inside flap.
Once this operation has been carried out, you will have to switch to the sewing machine which will therefore be used precisely to sew the two ends of the inner flap; use the needle again to keep them still and engaged and remove it while sewing.
Once this step is done, move on to sewing the rest of the pants and therefore the top part that you have previously unstitched. Then, with the sewing machine, match the unstitched part with the part on the side .
Then fix the needles on the inside flap and iron several times. Then with the needle sew the side part, the beginning of the inside flap, for greater security; this on all four sides.
This way you will have perfect pants.
In short, there will surely be several steps to implement but in exchange you will be able to have the pants that you want so much and the length you want and without even having an appointment with the seamstress. From today you will no longer need it, and the steps we have just described will help you in all this. Just follow them to the letter and the game will really be over, but above all you will be able to show off those much desired pants.