
The Bathroom: You come here every day, but cleaning the bathroom tiles is a job that often gets neglected. Just because you don’t think about it, don’t take the time or don’t feel like it. Or because you don’t know how to clean your bathroom tiles as easily as possible. Does it make sense to use cleaning vinegar or do you get better results with green soap, baking soda or chlorine?
All ways at a glance
In the “Cleaning Job of the Month” section, we list all the ways you can make your bathroom tiles sparkling clean again so that you can quickly and easily get rid of limescale, dirt and mold in your own “spa”!
The Challenge
Action: Clean bathroom tiles Time: 1.5 hours Required: Empty spray bottle, empty bucket or laundry basket, scouring pad, old toothbrush, cleaning vinegar, green soap, baking soda (or baking soda; this is available at any grocery store) and/or chlorine ( read below if necessary), household gloves
Start cleaning the bathroom tiles!
- Collect all supplies.
Put on old clothes and household gloves, take off shoes and socks and roll up your trouser legs. Go into your bathroom or shower with your cleaning supplies; Gather any loose bottles, sponges, and toys that might get in the way of cleaning and place them in the empty bucket or laundry basket. - Fill the empty spray bottle with cleaning vinegar.
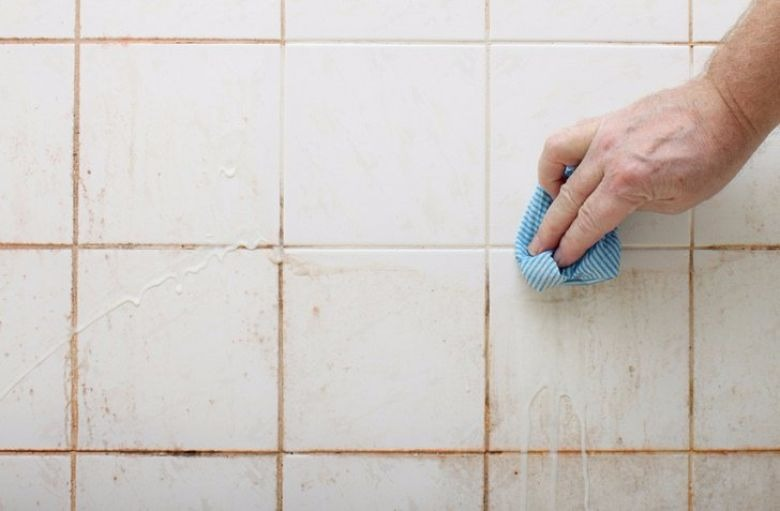
Spray the cleaning vinegar from top to bottom over your bathroom tiles. Let the vinegar sit for about 15-30 minutes. Cleaning vinegar has the good ability to dissolve limescale and grease, but it takes some time to do so. - After 15-30 minutes, pick up the scouring pad.
Scrub your bathroom tiles nice and clean with the yellow side (the green side of the sponge can drip!) and rinse well with warm water. If you have maintained your bathroom reasonably well over the last few years, treating your bathroom tiles with cleaning vinegar will probably be enough and you can then get the bathroom items out of the bucket or laundry basket and put the cleaning kit away. - Isn’t cleaning your bathroom tiles with vinegar enough?
Then move on to plan B! Mix two tablespoons of green soap with 8 tablespoons of baking soda to form a solid cream and sand the tiles until they are shiny. Baking soda also has a strong degreasing effect and, together with the green soap, ensures that your tiles are effortlessly cleaned even with stubborn deposits! If all goes well, this cleaning will also have made the grout lines between the tiles much cleaner and/or whiter and will allow you to store your cleaning supplies, but… for the finishing touch, you can optionally treat the grout lines with chlorine. - Are the joints between your bathroom tiles still too yellow or gray for your taste?
If necessary, apply undiluted chlorine to all joints with an old toothbrush and allow the chlorine to take effect for 15-30 minutes. Then rinse the joints well with water and they will be whiter than ever. - Ready? Put the bathroom things back neatly
Put away the cleaning supplies, take off your old clothes and take a warm shower or bath immediately. You deserve it and it’s especially good to rest after work. Genemeasure it!
Tip – Would you like to enjoy your clean bathroom tiles for longer?
Rinse them using a bucket of warm water with a generous squirt of dishwasher rinse aid. Or get into the habit of drying the tiles with a squeegee after every bath or shower. Lime then has fewer chances!